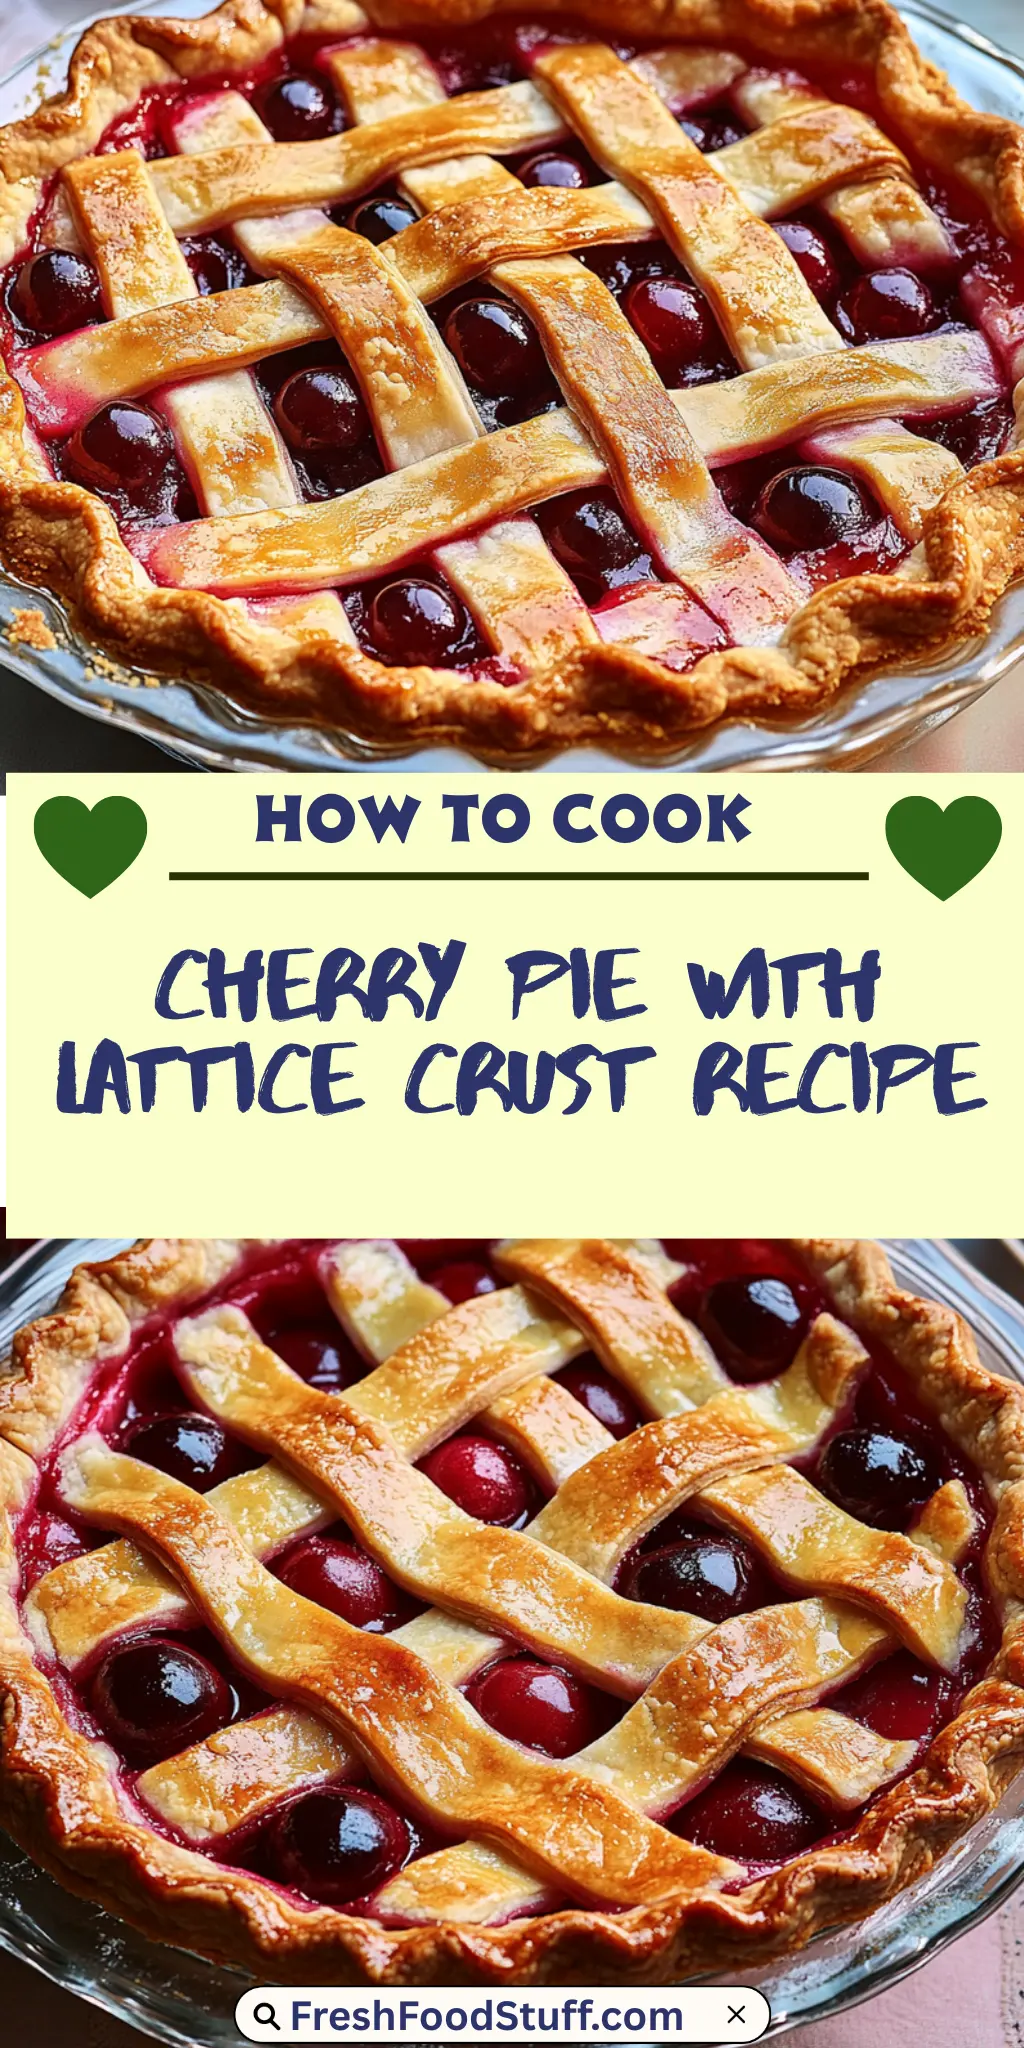
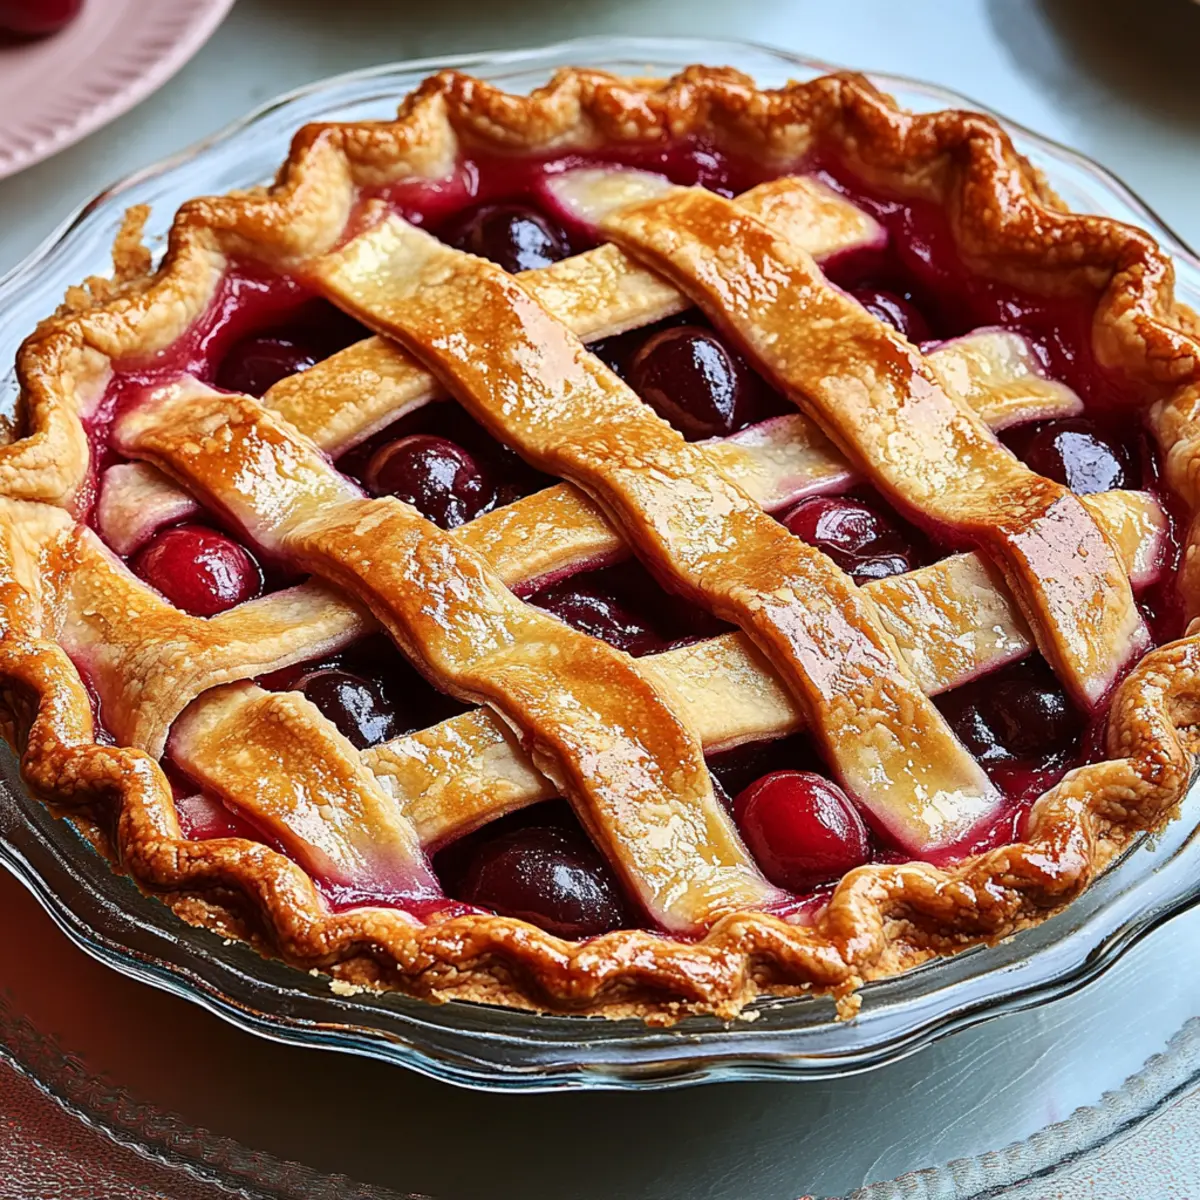
There’s something magical about a freshly baked cherry pie with a lattice crust. The sweet, tart cherries bubble up beneath a beautifully woven crust, sending that unmistakable aroma wafting through the kitchen. That first slice reveals the glistening filling, and you can practically hear angels sing as they bite into that perfect combination of flaky dough and juicy cherries. Cherry pie with lattice crust isn’t just dessert; it’s a heartfelt tradition, an ode to summer, and a delightful addition to any gathering.
I remember the first time I tried making cherry pie—I was young, eager, and convinced I could channel my inner Martha Stewart. My kitchen became a cherry-stained battlefield, with flour dusting the counters and cherry juice painting my arms. It wasn’t all smooth sailing, but the end result was a pie worth the mess and a taste that brought smiles to my family’s faces. You’ll find that making cherry pie with lattice crust can become such a cherished experience, whether it’s for a summer picnic, a holiday feast, or simply because you need an excuse to make your house smell amazing.
Why You'll Love This Cherry Pie With Lattice Crust
This incredible Cherry Pie With Lattice Crust transforms simple everyday ingredients into restaurant-quality flavors that will blow your mind completely.
Foolproof recipe techniques guarantee perfect results every single time, making even novice cooks feel like professional chefs instantly.
Stunning visual appeal with gorgeous colors and mouthwatering aromas creates the ultimate Instagram-worthy dish for any special occasion.
Endlessly adaptable for different dietary needs while working beautifully for meal prep, date nights, or entertaining large groups effortlessly.
Ingredients for Cherry Pie With Lattice Crust
Here’s what you’ll need to make this delicious Cherry Pie With Lattice Crust:
2 cups fresh cherries – Choose ripe, sweet cherries for the best flavor; you can also use frozen cherries, just thaw and drain excess liquid.
3/4 cup granulated sugar – This sweet ingredient helps balance the tartness of the cherries while ensuring a luscious filling.
1/4 cup all-purpose flour – Use this to thicken the cherry filling, preventing it from becoming runny when baked.
1 tablespoon lemon juice – A splash of acidity brightens the flavor and enhances the cherries’ natural sweetness.
1 teaspoon vanilla extract – This adds a lovely depth of flavor that pairs beautifully with the cherries.
1/2 teaspoon salt – A pinch of salt elevates the overall flavor of the pie, balancing the sweetness.
1 cup all-purpose flour (for dough) – The main component of your crust, so use good-quality flour for the best texture.
1/2 cup unsalted butter – Cold and cubed for the pie crust, it adds richness and flakiness to the dough.
2 to 4 tablespoons ice water – This will help bind the dough together and keep it from becoming too warm.
How to Make Cherry Pie With Lattice Crust
Follow these simple steps to prepare this delicious Cherry Pie With Lattice Crust:
Step 1: Prepare the Dough
In a large bowl, combine 1 cup of flour and 1/2 teaspoon of salt. Cut in the cold, cubed butter until the mixture resembles coarse crumbs. Gradually add ice water, one tablespoon at a time, mixing until the dough comes together. Shape the dough into a disk, wrap it in plastic wrap, and chill it in the refrigerator for at least an hour.
Step 2: Make the Filling
In a separate bowl, combine the halved cherries, 3/4 cup of sugar, the remaining 1/4 cup of flour, lemon juice, and vanilla extract. Stir gently to mix, then let the filling sit for about 15 minutes. This allows the cherries to release their juices, enhancing the flavor profile.
Step 3: Roll Out Dough
Once the dough has chilled, divide it into two portions, one slightly bigger than the other. Roll out the larger portion on a floured surface until it’s about 1/8 inch thick. Carefully transfer it to a 9-inch pie dish, allowing the excess to hang over the edges for a rustic finish.
Step 4: Assemble the Pie
Pour the cherry filling into the prepared crust, spreading it evenly. Roll out the second piece of dough and cut it into strips (around ½ inch wide). Lay half of the strips over the filling in one direction, then weave the other half over them, creating a beautiful lattice pattern.
Step 5: Bake the Pie
Preheat your oven to 425°F (220°C). Brush the lattice crust with an egg wash (a beaten egg mixed with a splash of water) for a golden finish. Bake for 45-50 minutes, or until the crust is golden brown and the filling is bubbly and fragrant.
Step 6: Cool & Serve
Once baked, remove the pie from the oven and allow it to cool on a wire rack for at least an hour. This cooling time is crucial—otherwise, you’ll end up with a delicious cherry soup. Serve with a scoop of whipped cream or vanilla ice cream for the cherry pie experience of your dreams.
Enjoy your baking adventure with this cherry pie with lattice crust! Because honestly, what’s better than a slice of homemade pie accompanied by laughter, stories, and a little bit of mess?
This showstopping Cherry Pie With Lattice Crust delivers restaurant-quality results using simple ingredients you probably already have at home. The perfect balance of textures and flavors creates an unforgettable dining experience that will have everyone asking for seconds. Picture-perfect presentation with vibrant colors makes this dish absolutely Instagram-worthy and guaranteed to impress any dinner guest. Incredibly versatile recipe that works beautifully for weeknight dinners, meal prep, special occasions, or even outdoor entertaining sessions.
Perfecting Cherry Pie With Lattice Crust Cooking Process
Start by preparing the dough and chilling it so it firms up nicely. Meanwhile, mix the cherry filling and let it sit. Roll out the dough while the filling is resting for the perfect balance in texture and flavor.
Add Your Touch to Cherry Pie With Lattice Crust
Feel free to swap out cherries for other fruits like blueberries or mixed berries. Add a pinch of almond extract for a nutty flavor twist or sprinkle in some cinnamon for extra warmth. Your pie, your rules!
Storing & Reheating Cherry Pie With Lattice Crust
Store any leftover pie in an airtight container at room temperature for up to two days. To reheat, bake in a preheated oven at 350°F for about 10-15 minutes until warm and flaky again.
Chef's Helpful Tips for Cherry Pie With Lattice Crust
This professional-quality Cherry Pie With Lattice Crust relies on precise timing and temperature control to achieve restaurant-standard results consistently.
Master the art of mise en place by prepping all ingredients beforehand, ensuring smooth execution and preventing any last-minute cooking disasters.
The secret lies in layering flavors throughout the cooking process rather than seasoning only at the end for maximum depth.
Pro tip: let the finished dish rest for optimal texture and flavor development before serving to hungry guests waiting eagerly.
I remember the first time I attempted this cherry pie, bubbling with juicy sweetness, and my friends cleaned the plate in minutes, asking when I’d bake again. It made me realize just how easy it is to impress with a homemade dessert!
FAQs About Cherry Pie With Lattice Crust
What is Cherry Pie With Lattice Crust?
Cherry Pie With Lattice Crust is a delightful dessert that features a flaky, buttery crust filled with fresh cherries and a hint of sweetness. The lattice top is not only visually appealing but also allows steam to escape, keeping the filling perfectly set. This classic American pie is often enjoyed during summer when cherries are in season, making it a perfect addition to any holiday gathering or family dinner.
How do I make the perfect lattice crust for my Cherry Pie?
To create a perfect lattice crust for your Cherry Pie, start by rolling out your dough and ensuring it is thin enough to weave. Cut the rolled-out dough into even strips, about ¾ inch wide. Lay half of the strips across the pie filling, then carefully fold back every other strip to create an alternating pattern. Place additional strips on top and repeat the process. Finally, crimp the edges for a polished look.
Can I use frozen cherries for my Cherry Pie With Lattice Crust?
Absolutely! You can use frozen cherries in your Cherry Pie With Lattice Crust. Just remember to thaw and drain them well to avoid excess moisture in your filling. Add a bit more cornstarch or flour to help absorb the liquid if necessary. This way, you can enjoy this delicious pie any time of the year, regardless of cherry season.
What should I serve with my Cherry Pie With Lattice Crust?
Serving your Cherry Pie With Lattice Crust with a scoop of vanilla ice cream or a dollop of freshly whipped cream enhances the experience. The cool creaminess perfectly complements the warm, fruity filling and flaky crust. If you want to get creative, consider drizzling a bit of chocolate or caramel sauce over the top for a delightful treat that everyone will love.
Conclusion for Cherry Pie With Lattice Crust
In conclusion, the Cherry Pie With Lattice Crust is a delightful dessert that brings together the sweetness of cherries and the flakiness of pastry in a beautiful presentation. With simple ingredients and straightforward techniques, you can impress your family and friends with this classic dish. Whether enjoyed during the summer months or at a holiday gathering, this cherry pie is sure to be a hit. So why not try your hand at making this beautiful and delectable pie today?
Cherry Pie With Lattice Crust
Discover the sweet and tangy delight of Cherry Pie With Lattice Crust, a classic dessert that's perfect for any occasion.
In a large bowl, mix 1 cup flour and salt. Cut in cold butter until crumbly. Gradually add ice water to form dough. Wrap in plastic wrap and chill for at least an hour.
Filling Preparation
In a separate bowl, combine cherries, sugar, remaining flour, lemon juice, and vanilla extract. Let sit for about 15 minutes.
Assembling the Pie
Divide chilled dough into two portions (one slightly larger). Roll out each on a floured surface to about 1/8 inch thick; place the larger piece in a pie dish.
Pour cherry filling into the crust. Roll out the second piece, cut into strips, and weave a lattice pattern over the filling.
Baking
Preheat oven to 425°F (220°C). Brush lattice with egg wash and bake for 45-50 minutes until golden brown.
Cooling and Serving
Allow cooling for at least one hour before slicing. Serve with whipped cream or vanilla ice cream.
Feel free to swap out cherries for other fruits like blueberries or mixed berries. Add a pinch of almond extract for an interesting flavor twist or sprinkle in some cinnamon for extra warmth.


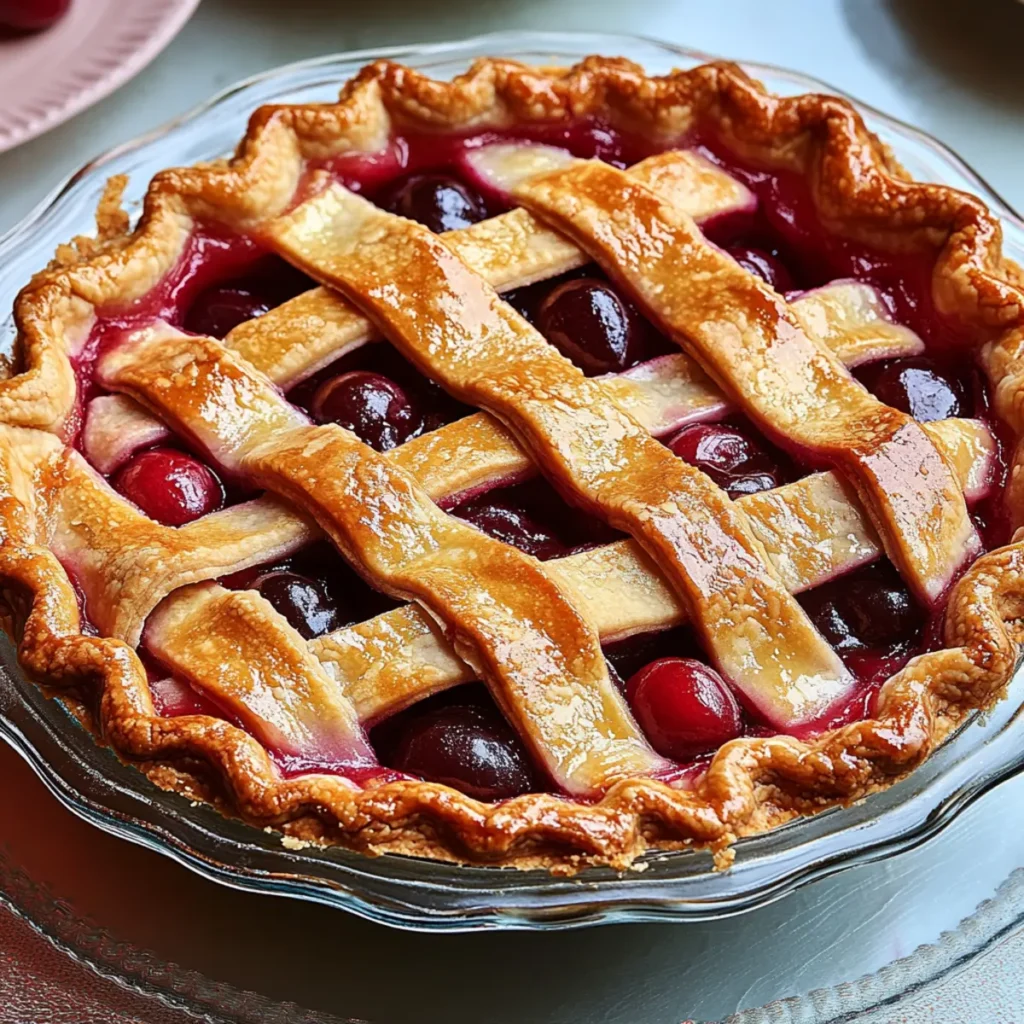
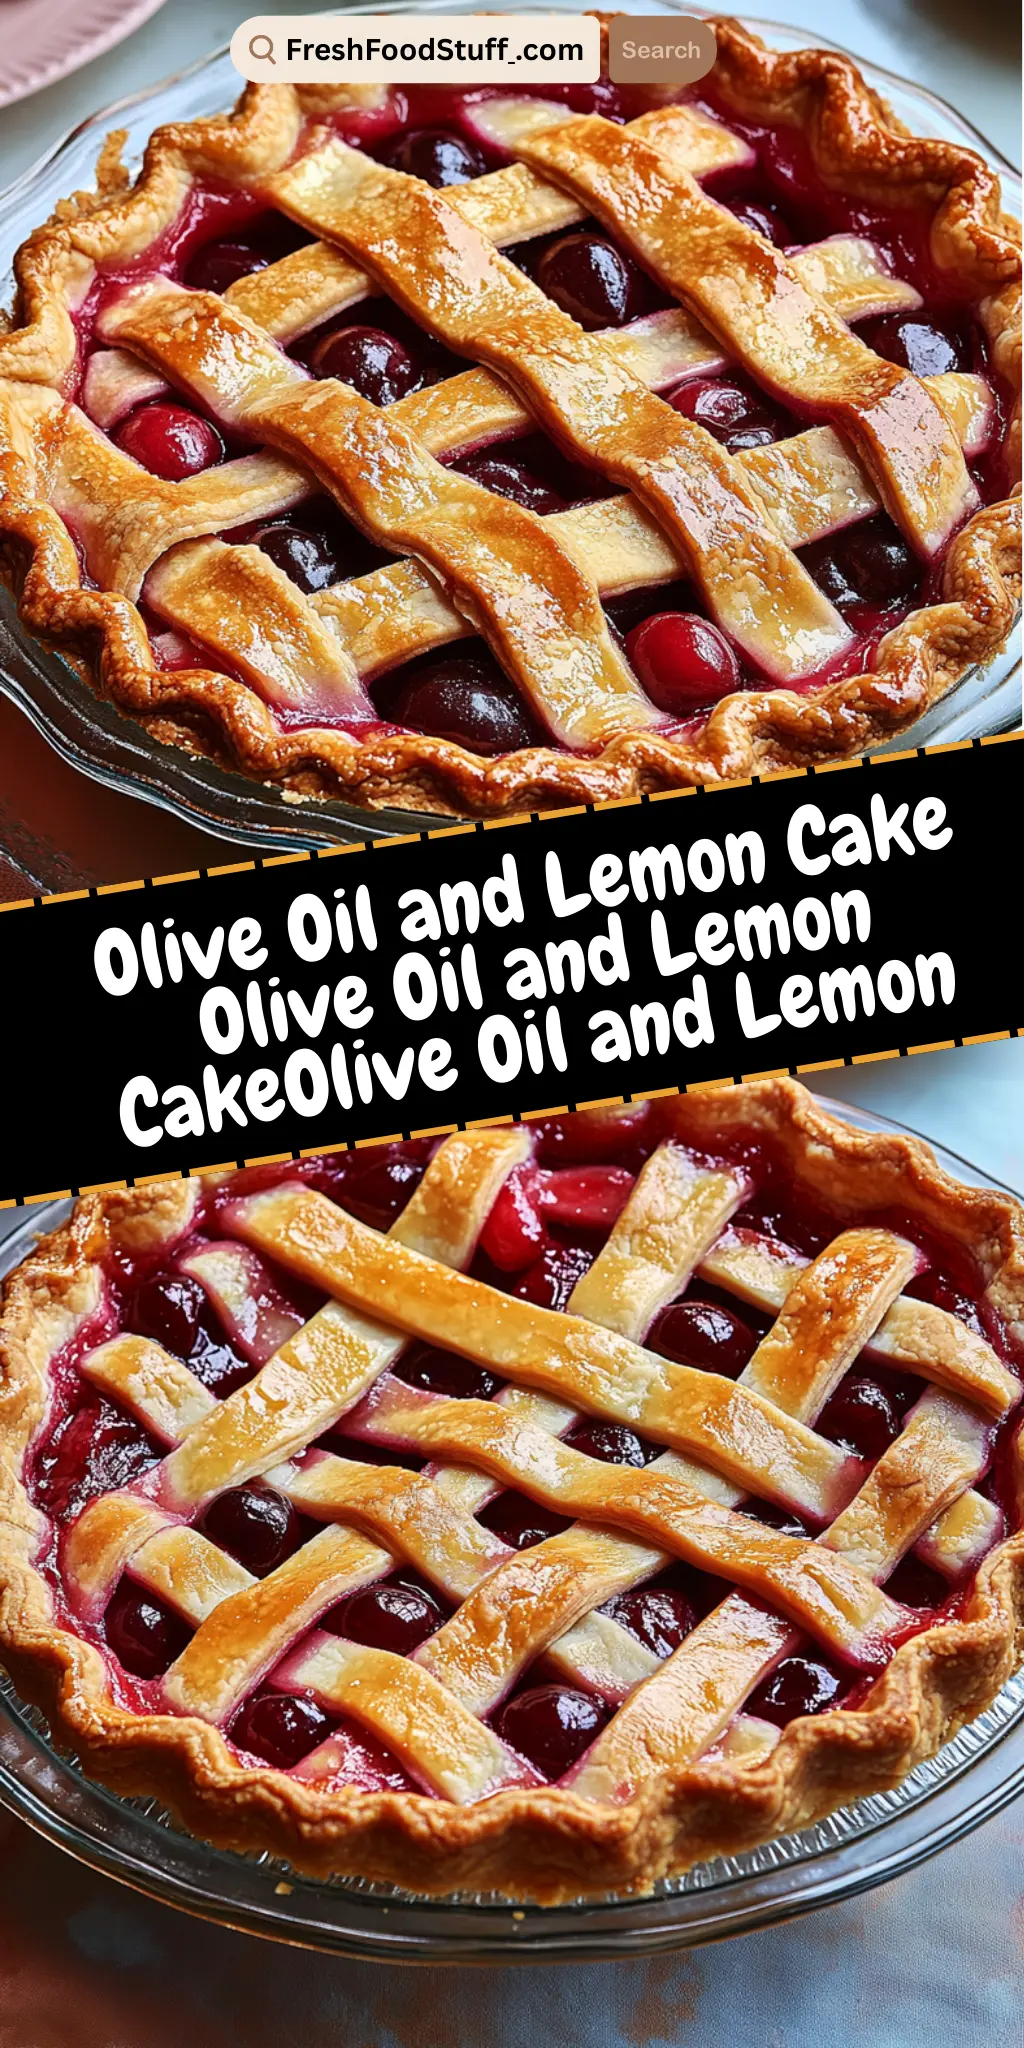 This showstopping Cherry Pie With Lattice Crust delivers restaurant-quality results using simple ingredients you probably already have at home. The perfect balance of textures and flavors creates an unforgettable dining experience that will have everyone asking for seconds. Picture-perfect presentation with vibrant colors makes this dish absolutely Instagram-worthy and guaranteed to impress any dinner guest. Incredibly versatile recipe that works beautifully for weeknight dinners, meal prep, special occasions, or even outdoor entertaining sessions.
I remember the first time I attempted this cherry pie, bubbling with juicy sweetness, and my friends cleaned the plate in minutes, asking when I’d bake again. It made me realize just how easy it is to impress with a homemade dessert!
This showstopping Cherry Pie With Lattice Crust delivers restaurant-quality results using simple ingredients you probably already have at home. The perfect balance of textures and flavors creates an unforgettable dining experience that will have everyone asking for seconds. Picture-perfect presentation with vibrant colors makes this dish absolutely Instagram-worthy and guaranteed to impress any dinner guest. Incredibly versatile recipe that works beautifully for weeknight dinners, meal prep, special occasions, or even outdoor entertaining sessions.
I remember the first time I attempted this cherry pie, bubbling with juicy sweetness, and my friends cleaned the plate in minutes, asking when I’d bake again. It made me realize just how easy it is to impress with a homemade dessert!